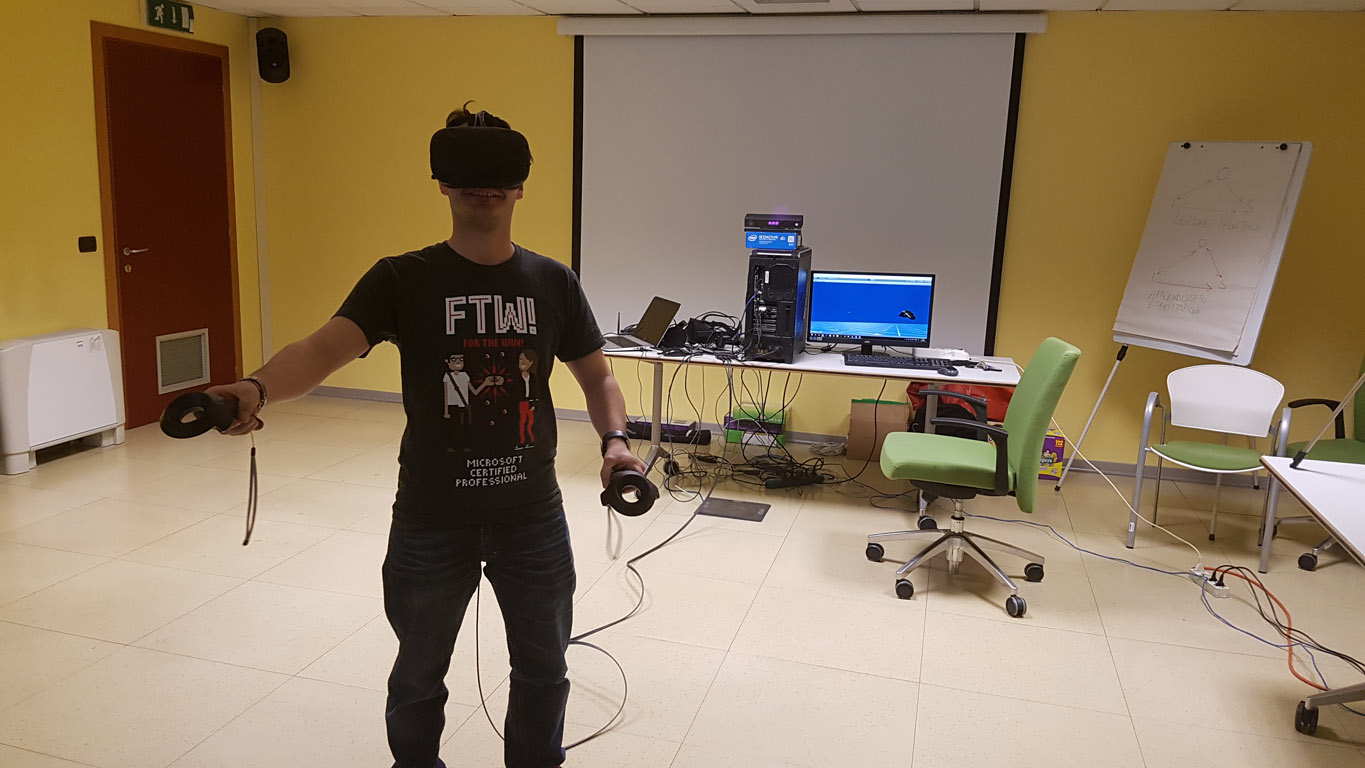
Hello, everyone! Here in ImmotionAR we are always working on cutting-edge technology, so my buddy Gianni has bought a set of HTC Vive and let me try them! Cool, isn’t it? I’ll write you a review about my experience with them… so you’ll know how they are. Ready? Go! (If you’re in a hurry, read only the TL;DR at the end ;) ). Also, if you are curious about the Oculus Rift CV1, you can read our other review here!
It’s my habit to start each review with a storyboard of the unboxing… but Gianni took the Vive here already unboxed, so I can only say some word about the unboxing operation I’ve performed here with Gianni’s packaging.
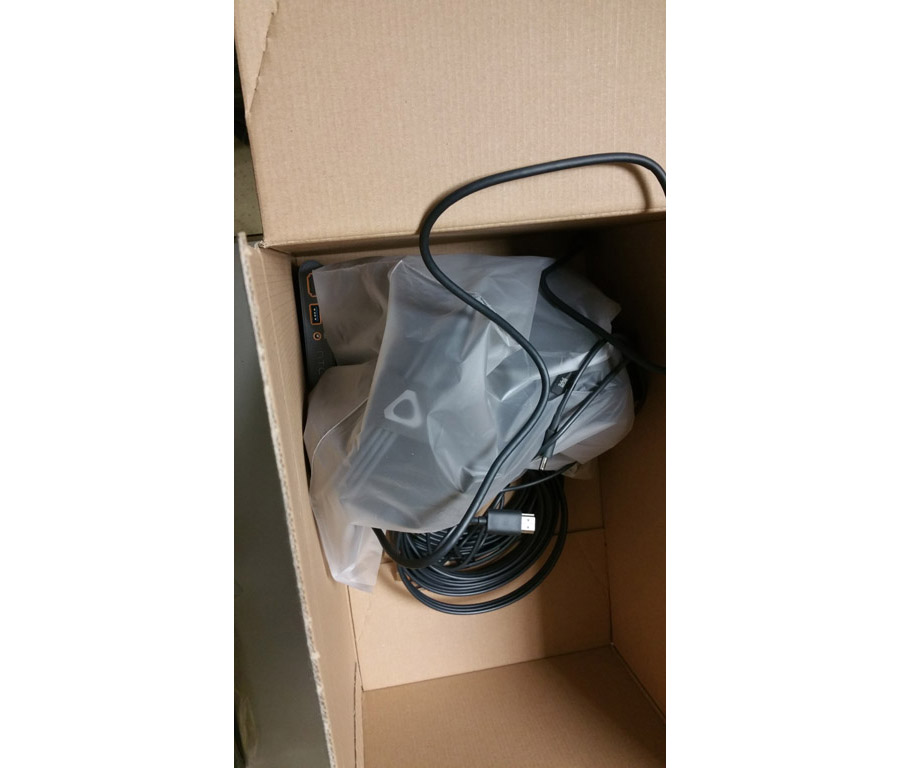
The Vive system comes inside a diaper box made by Pampers and it’s packaged in a really weird way, with the headset inside some plastics and the other stuff just lying around in the cardboard box. Not a great packaging for a hardware worth $800! :D
Just kidding, obviously the Vive comes with an elegant packaging. If you want to see a true unboxing operation, just look at YouTube videos, like this one.
You can see the content of the box in this photo (together with some mobile headsets):
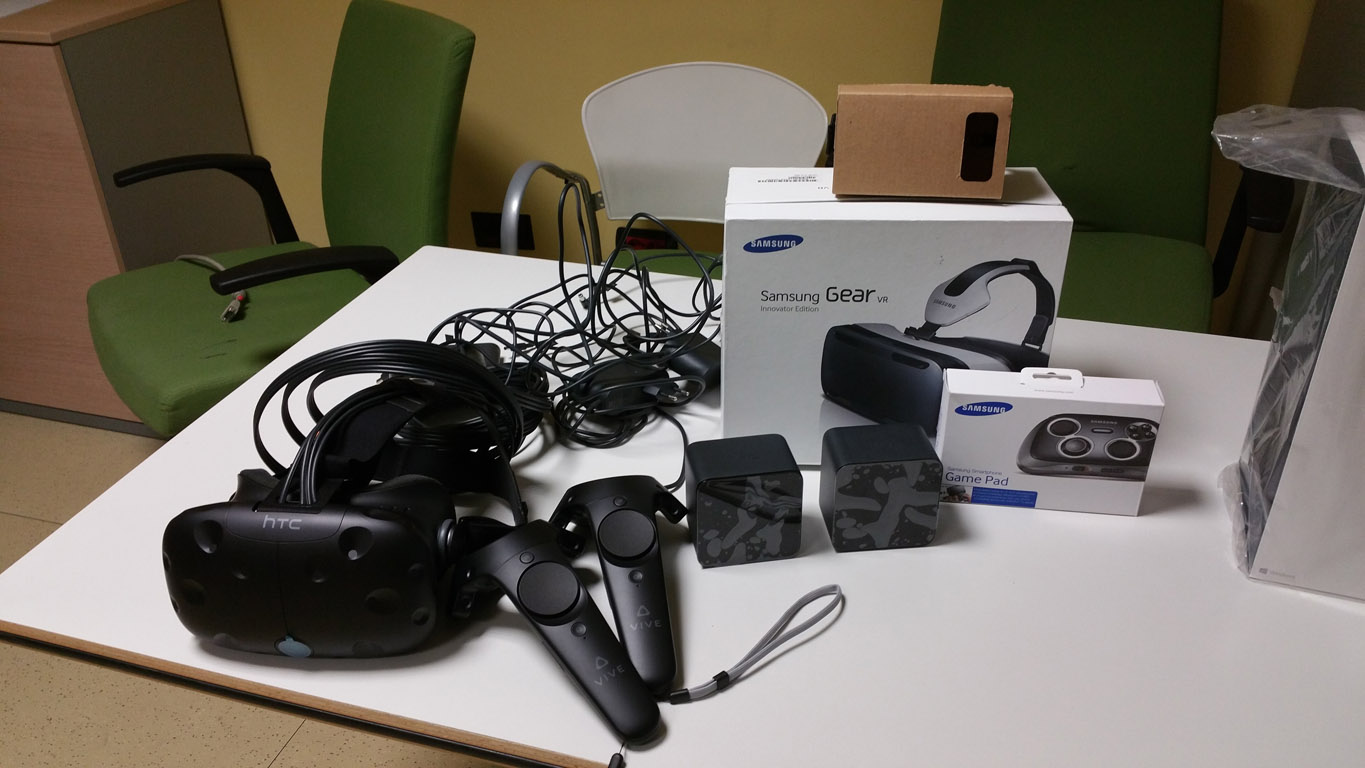
The headset seems an improved DK2, with a frontal camera. Its surface is covered of “valleys” containing the markers for the Lighthouse system: the result is a black plastic surface that reminds me the moon land. The frontal camera is there, but at the moment is unemployed. The headset is attached to a really heavy cable that is connected to the computer.
The device is accompanied by the two famous wireless controllers. They’re more heavy than I expected and I didn’t find them super-comfortable. Their donut-like design is cool, anyway. The device has to be plugged to the PC and to the electricity using a box, that reminded me the “damn belt box” of OSVR system. The great advantage of this one is that you don’t have to attach it to your belt, but stays on your desk. So this box is not a damned one :-)
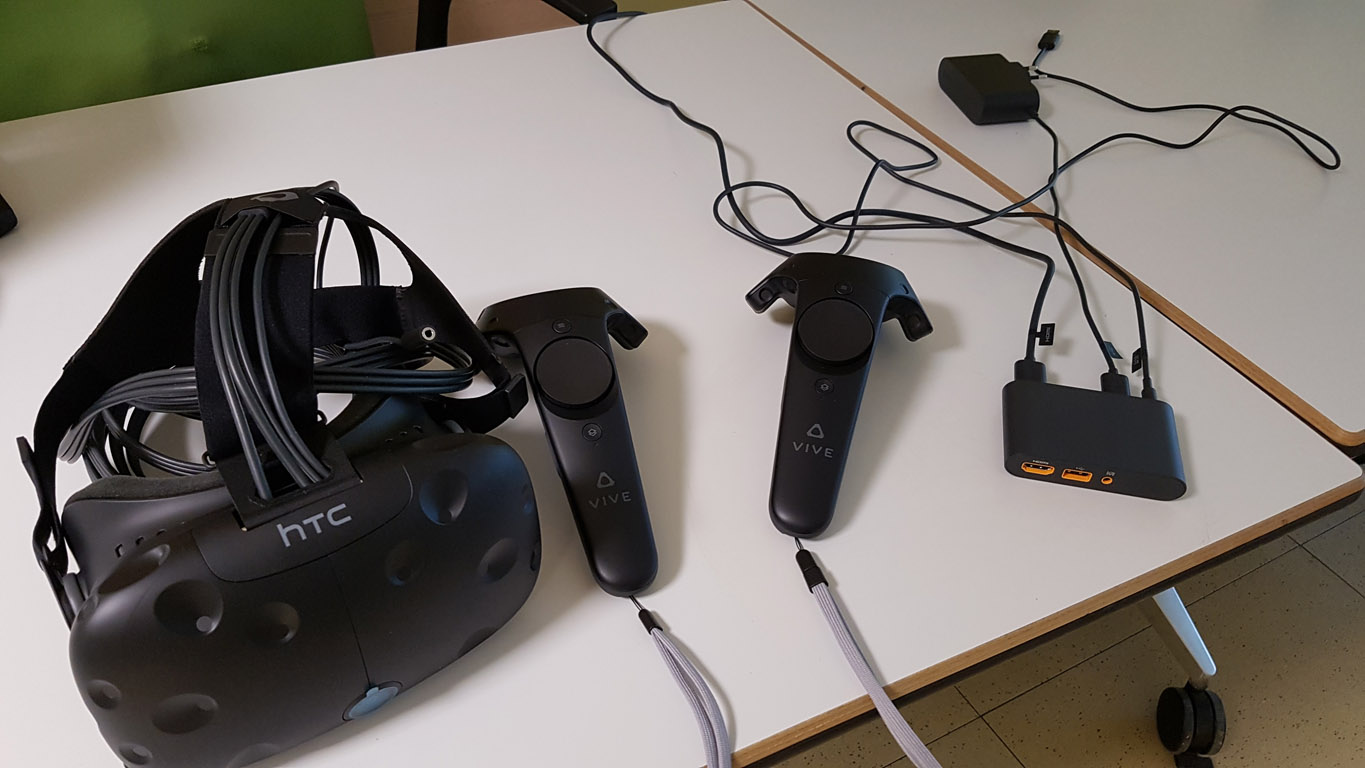
Gianni had already performed an installation of a Vive system, so he just taught me how to do it. The setup is not as easy as Oculus one, so I can tell you for sure that Vive is still not consumer ready. If you’re a technician, you’ll find it easy, anyway. You have just to plug everything to the PC using the box and you’re ready to go for a standing experience. To use room-scale, you have to mount the two Lighthouse stations. Each station will need a power socket in the surroundings, so be sure to have enough of them.
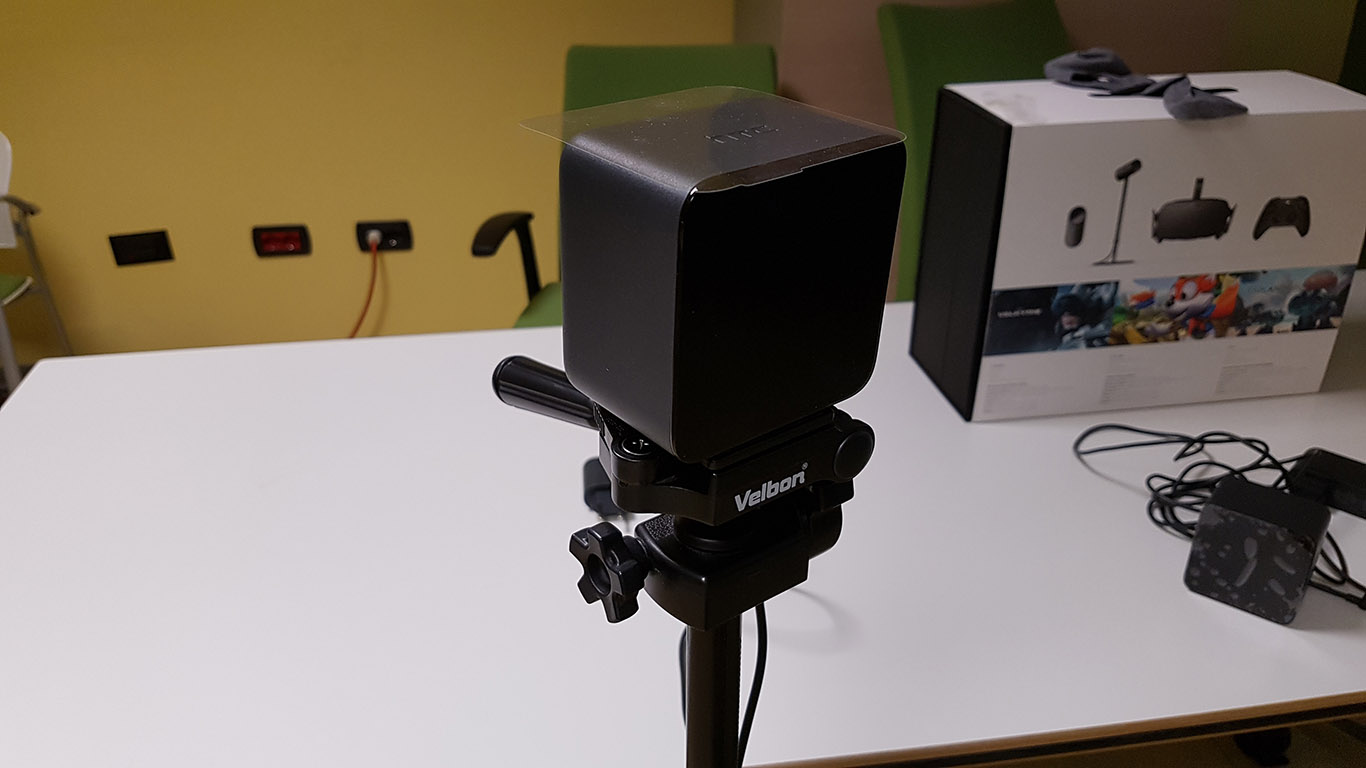
You also have to position them very carefully. They must constantly see each other during all the time (to guarantee sync between their data), so you have to put them at a maximum distance of 5m and you have to put them at a high position (near the ceiling is ideal), or they’ll give you a lot of problems during virtual reality experiences.
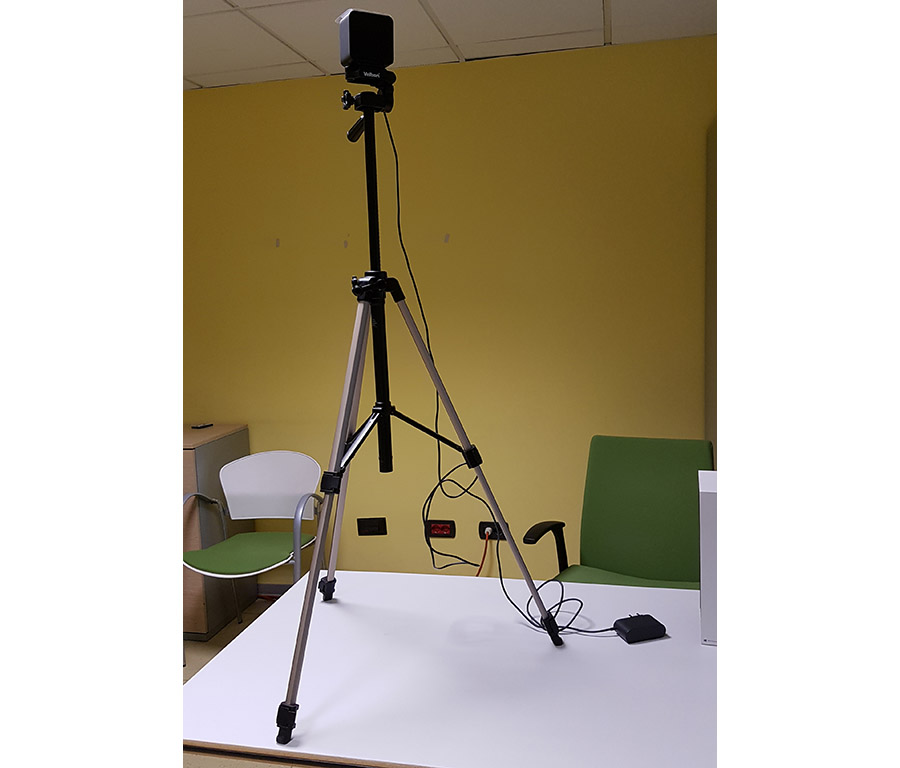
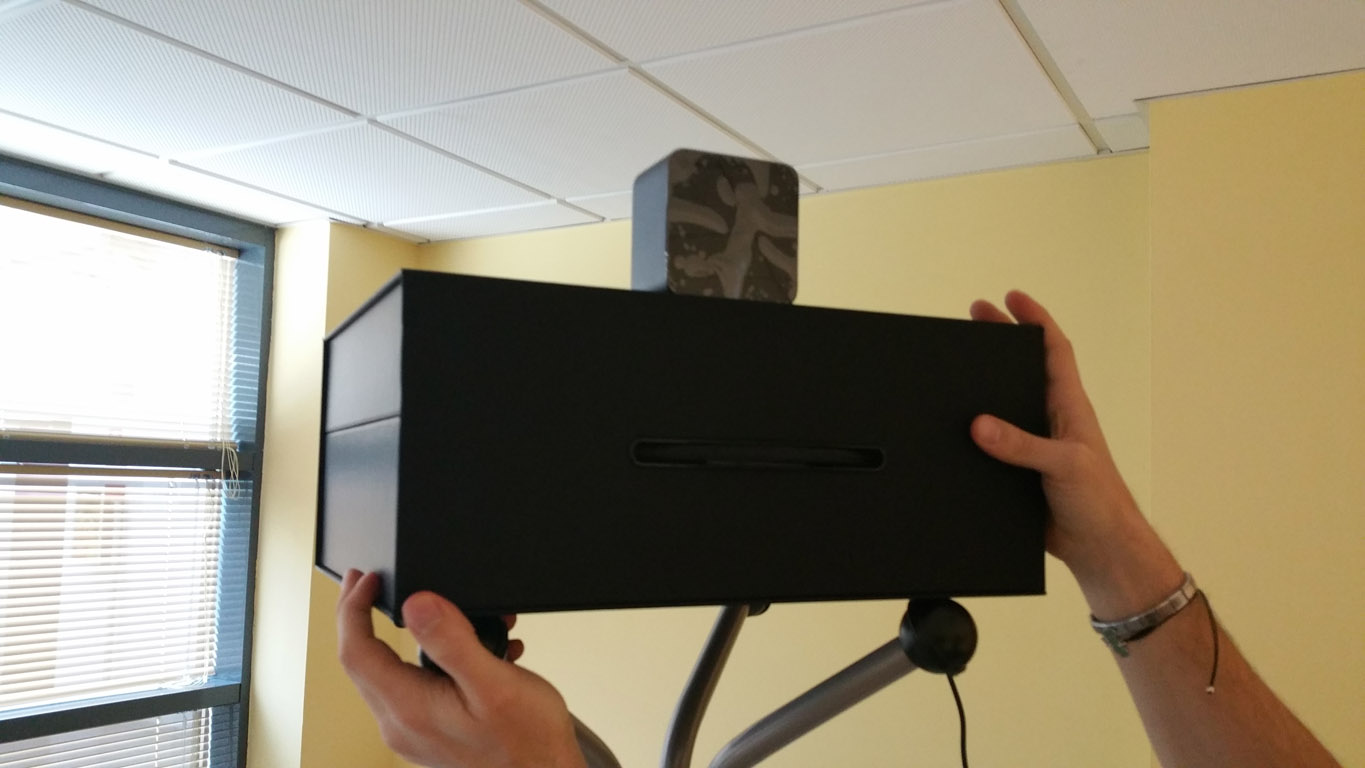
If you can’t attach them to your wall, you have to find some workaround… we just used an Oculus CV1 box to help in putting a lighthouse station in high position (who’s said that Oculus and Vive can’t work together? :D )
After all this stuff have been done, you’re not ready yet. You have to have Steam installed, then install SteamVR. At this point, you have to configure everything using their configuration tool. The configuration tool of SteamVR is really awesome. While Oculus has focused a lot on design and elegance, Steam has tried to make a fun experience about everything: so, all the configuration process is full of funny cartoon guys showing what you have to do. I love this approach a lot, so thumbs up for Vive Room setup!
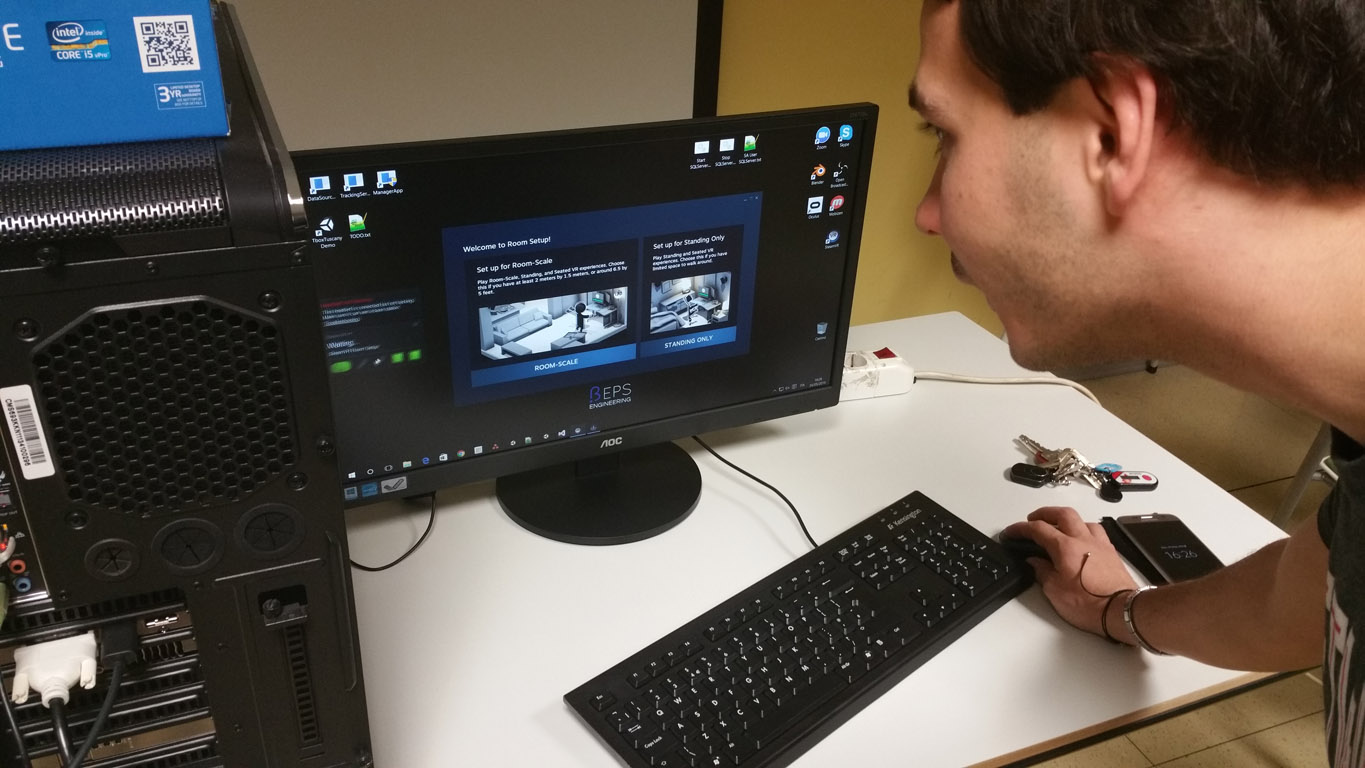
At first, you have to choose if you’re configuring the system for room-scale or for standing experiences. As you know, room-scale is the ability of Vive to let you move in a 4x4m space freely, with controller in your hands. If you have bought a Vive and don’t try the room-scale experience, you’re just insane. It’s like going to Paris and not going to see the Eiffel Tower. So, choose “Room scale” and don’t have regrets :-)
The funny cartoon guys will guide you throughout all the process, telling you all the steps required to calibrate the system. This steps serve to give the system an origin and to tell Chaperone how big your game area is (Chaperone is the system that warns you that you’re exiting from your safe game area and that probably you’re going to punch some valuable object inside your house). This steps are very easy for a dev, but a bit strange for a non-technician.
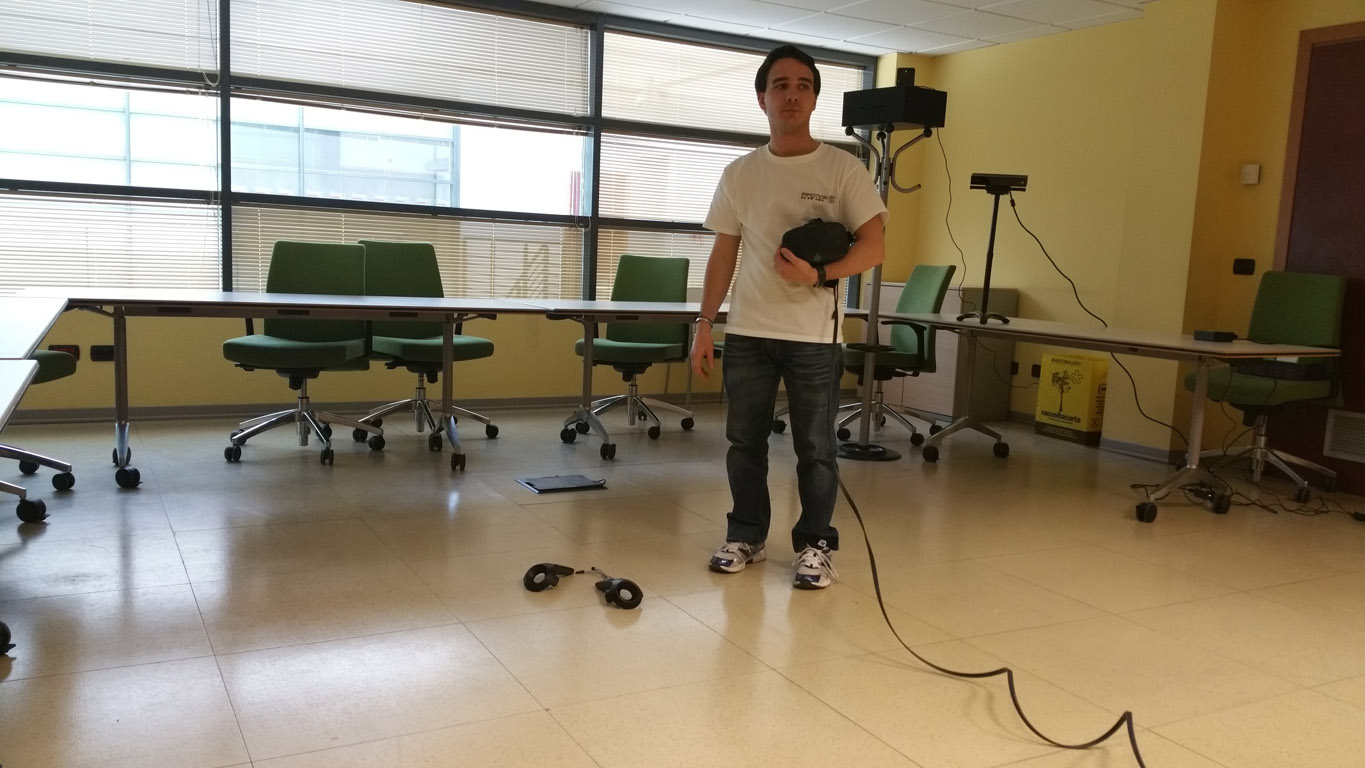
After all this setup, finally, you can play with your Vive!
This is the moment when I’ve worn it for the first time. My impression with the headset ergonomics is that it is like an improved DK2, more well-crafted and more-comfortable, but absolutely not comparable to the comfort level of the Oculus CV1. Inside, the screen and lenses are like CV1 ones, obviously, but external design is not ultra-beautiful. The cable connecting it to the PC is really large and heavy and this is absolutely another great problem. As I’ve said, the controllers are more heavy than I thought and in my opinion they have too many buttons and touchpads, so my final first impression is: great, but there is still a lot to do on design and ergonomics.
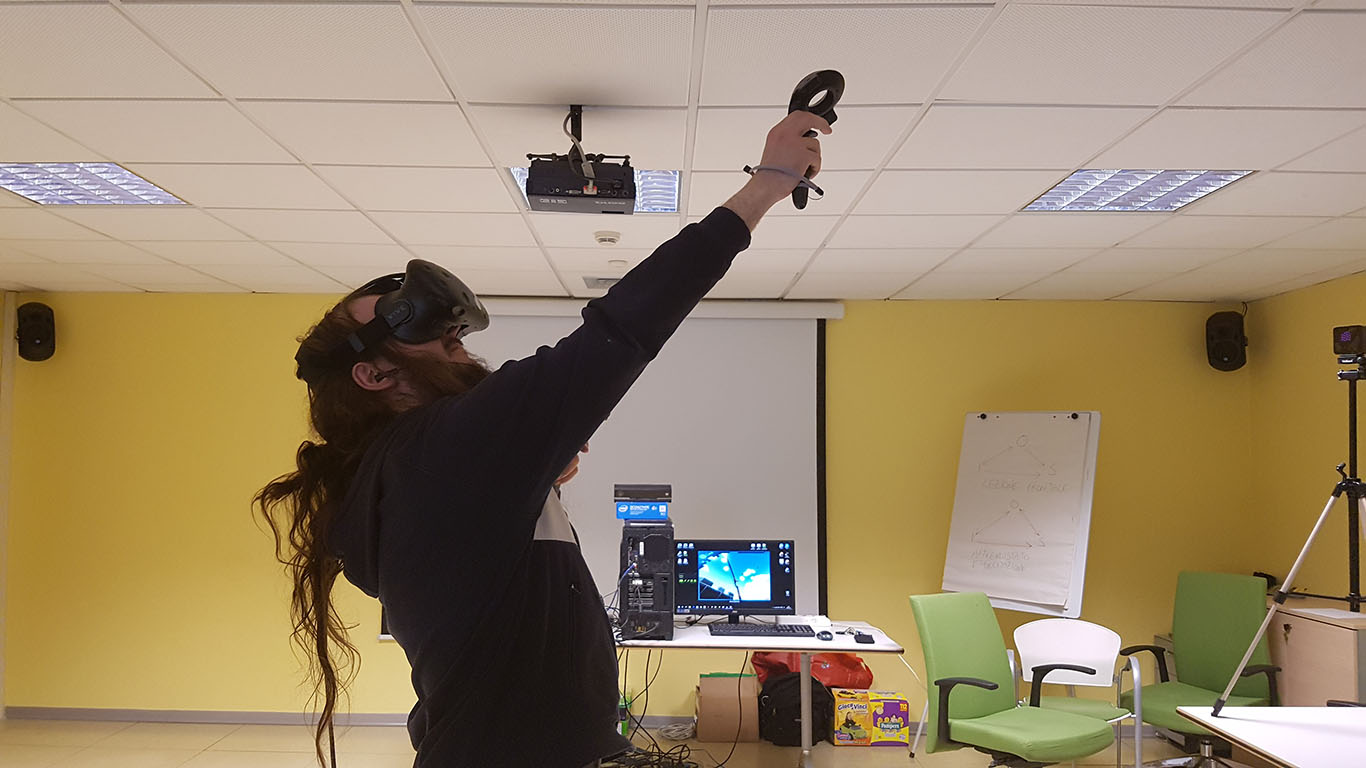
I started playing the tutorial, where a robot just tells you everything about the headset, the various buttons on the controllers and Chaperone. This tutorial is just fantastic: great graphics, great animations, clear explanations and everything is full of fun: you see balloons inflating from your controller, laser rays, the little funny men… it’s really amusing. And it makes starting appreciating all the work Steam and HTC have done: room-scale is really awesome and the ability to see the controllers in virtual reality exactly with the same shape and pose of real life one is something astonishing. I can’t describe it. And the precision is fantastic… the tracking error is matter of millimeters, so I can say it’s really accurate.
I tried making the controllers lose their tracking, but it’s really hard: you have to occlude them completely. I’ve been really impressed by room-scale. And you know that I work on a immersive virtual reality system, so it’s not easy to impress me. Kudos to Steam!
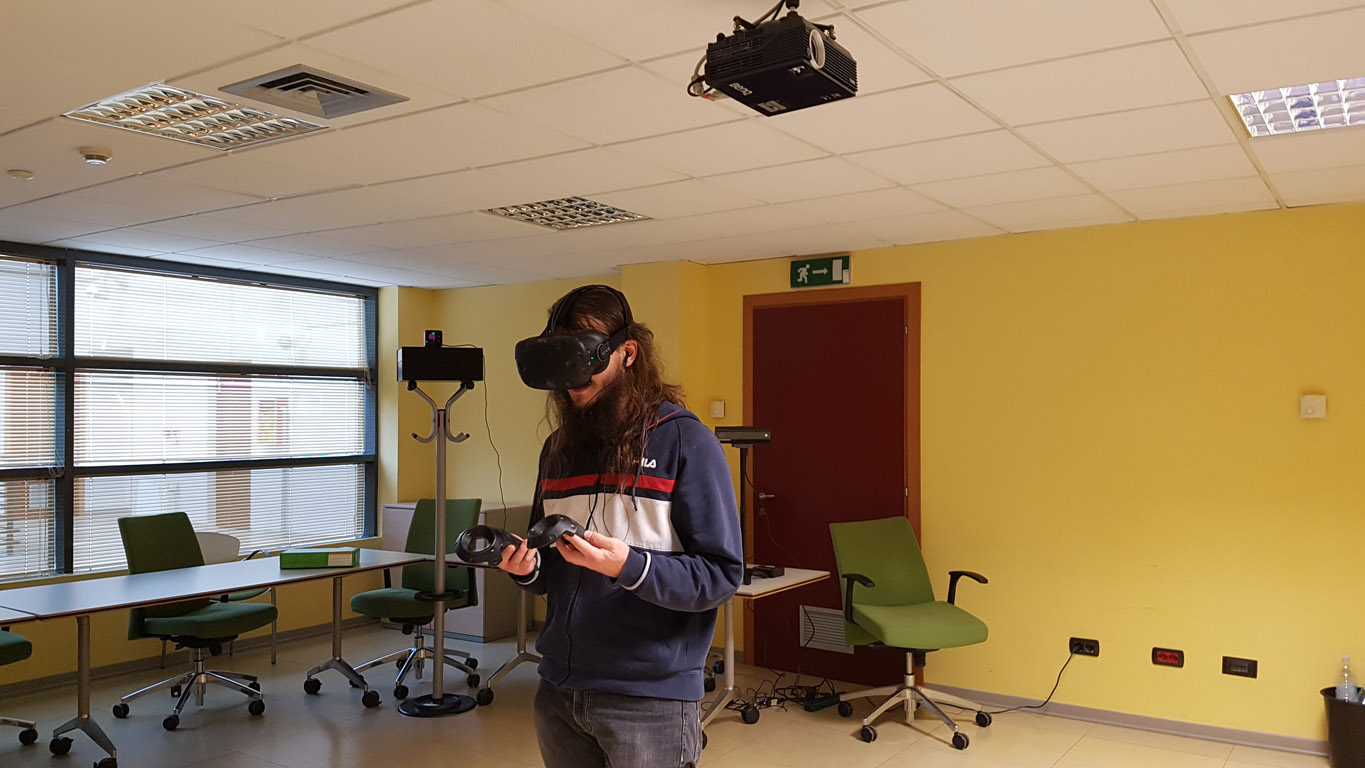
After the tutorial, I tried some demos. Vive is backed by the power of Steam, the greatest videogame store, so it is obvious to find a lot of demos, paid and free. Steam interface in VR is really great and easy to be used using the controllers (and you can also control your PC Desktop in VR using the controllers!) The most important demos I tried have been:
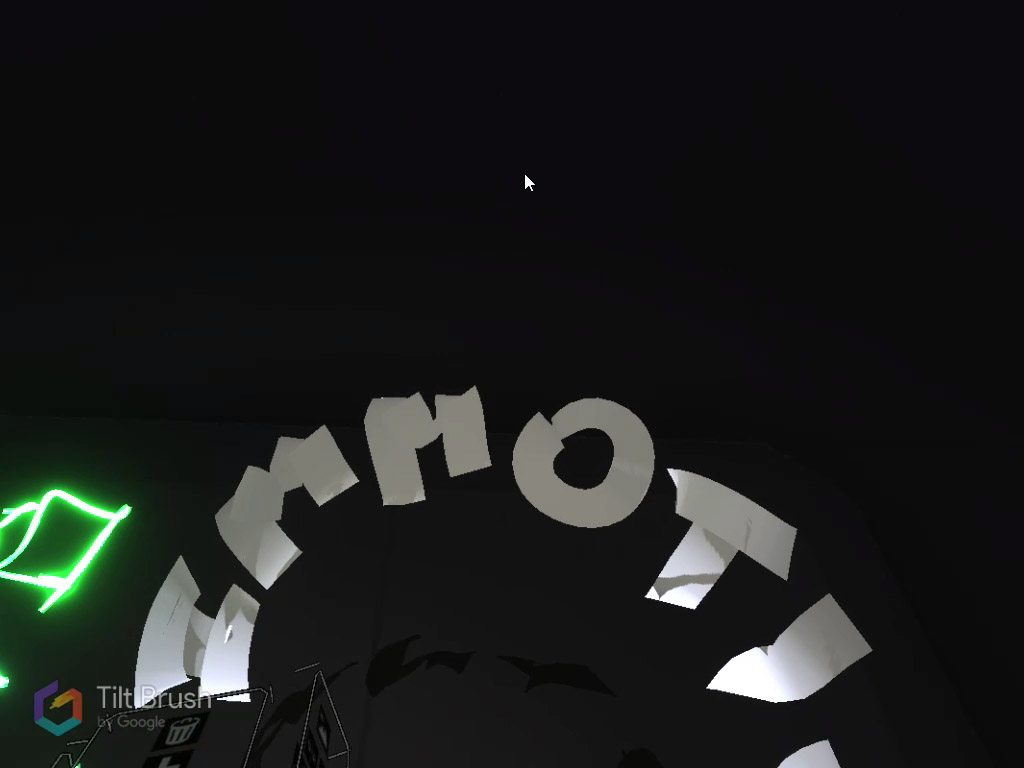
- Tilt Brush. We’ve all seen that great video online showing you Tilt Brush potentialities. It is really an interesting demo showing you the new artistic potentialities of virtual reality. Its interface is not perfect (controls on the left hand are not easy to pick) and if you’re not an artist, you’ll just end up doing awful things in VR instead of doing them on paper :-), but it’s really cool to try. It’s well made and unique in its genre.
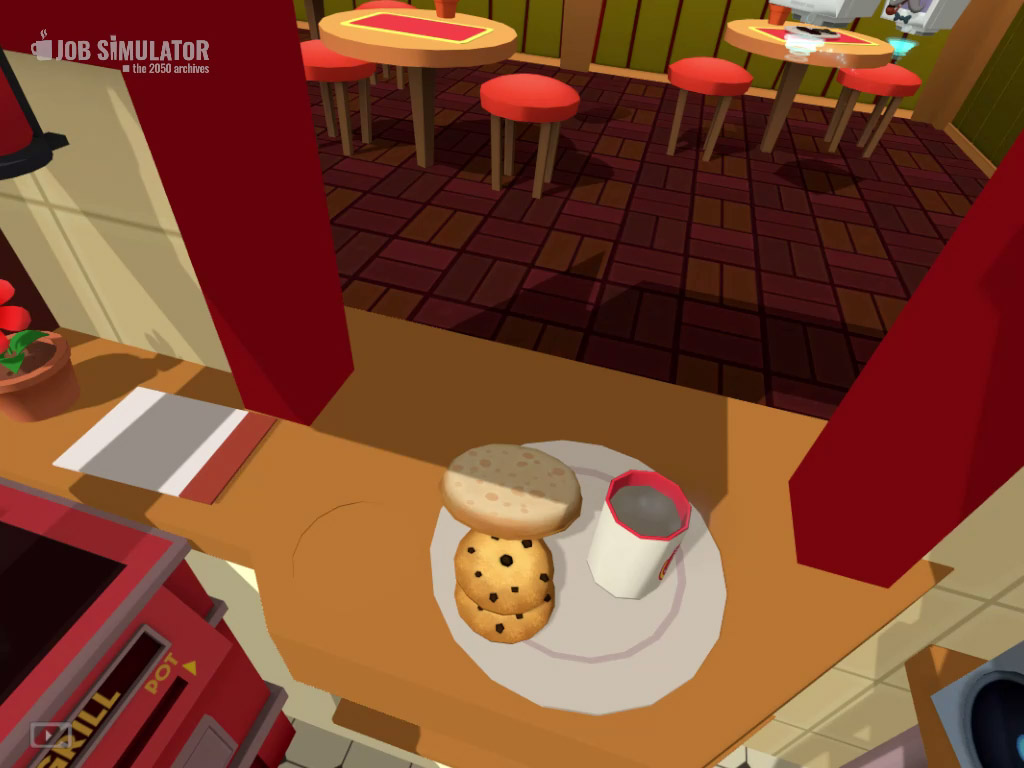
- Job Simulator: one of the most well-known game for Vive, it makes you try different jobs, with cartoon graphics and funny environment. It’s really epic, because it just exploits all potentialities of the Vive: with the controller you can just pick every object around you with your hands and interact with them in a natural way: to eat a donut you have just to grab one and put it near to your mouth! The thing that I love most about this game is that you can interact with almost everything. My favourite game.
- The Lab: a collection of short experiences, showing you some cool stuff, like the ability to shot enemies like if you were an archer, just shooting them using your hands as you had a bow and an arrow in your hands.
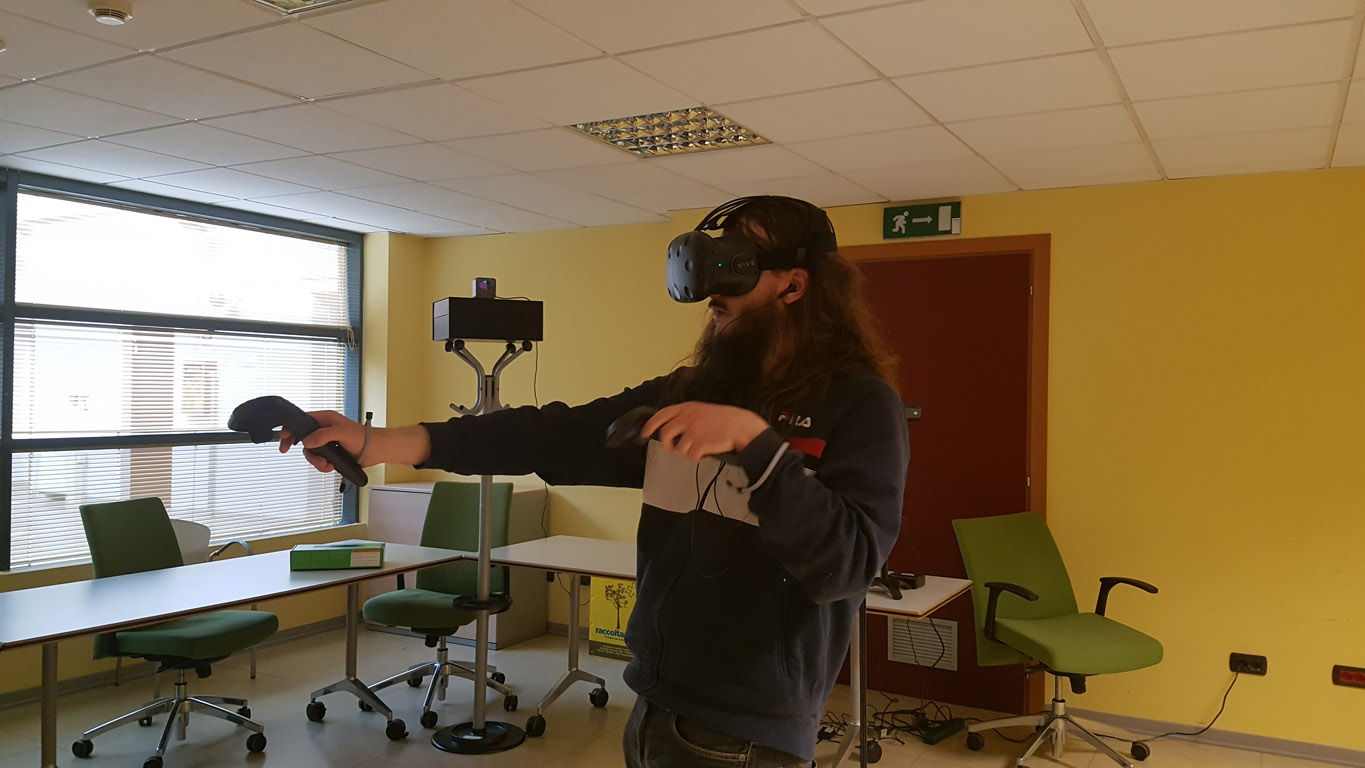
This is the game where I experimented HTC Vive locomotion system: the teleportation. Using triggers on your controllers you just point the direction where you do want to the teleport, and you go instantly there. Not very immersive and natural, but surely efficient. Don’t like it a lot.
- Fantastic Contraption: a puzzle like game, where for each level you have to mix the pieces you have to create a machine that has to go to some target point. Building an object with room-scale is really cool… is like being a child and playing with Lego. I could stay there for hours. Really awesome.
After all this time playing…ehm, working, I can state that I love room-scale of Vive a lot. Its headset has convinced me with its superior features. You know, I'm working on ImmotionRoom, that is similar to Vive room-scale for a lot of things, so it is obvious that I like this feature. But after having tried it, with its laser accuracy, I can say that I’m sure that this is the way I want virtual reality!
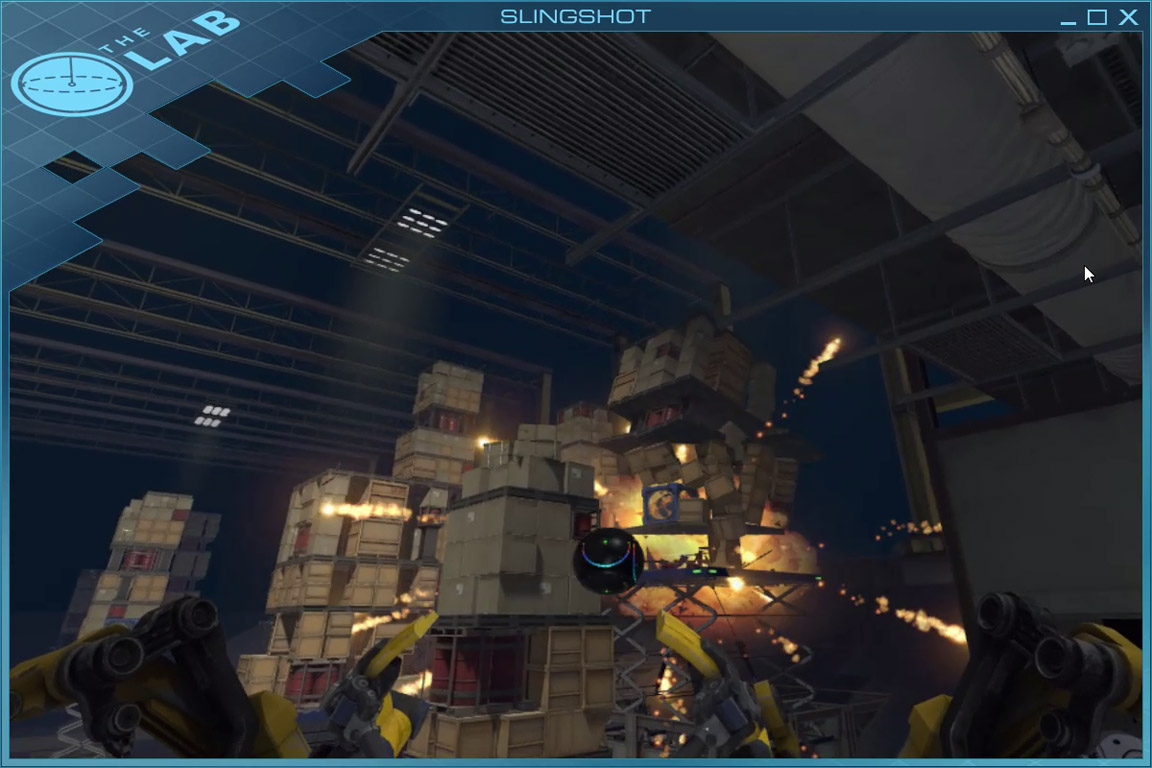
Anyway, I’ve experienced some problems, too. Sometimes has happened that I occluded the Lighthouse station communication with my headset and so everything went black, blocking me from playing. Sometimes the system just went crazy and we had to reboot SteamVR. They have still to work on stability a bit.
Room scale is cool, but it’s also tiring: you can’t stay standing in a room, moving your hands and feet all the day: you begin to sweat and to feel the strain after some time.
Then, being used to work with ImmotionRoom, I felt the absence of an avatar a great problem for feeling truly immersed in the VR world. And the two controllers always in the hands are uncomfortable if you have to wear and remove the headset a lot.
So, we decided to integrate ImmotionRoom with Vive.
The use of SteamVR plugin for Unity has not been so straightforward for me. All other headsets plugins (Cardboard, Oculus / Gear VR, OSVR) are very similar, because their headsets are similar: there is a player controller, a custom camera, etc…
Since Vive is made for room-scale and not for a walking scenario (it uses teleportation), it is completely different. So, integration with our system required a lot of hacking into existing scripts, and some matrix transformation knowledge (I hate it!!!).

Then, we discovered that our system network initialization just created problems for Vive initialization (Unity just got mad and headset froze a lot of times) and so we had to perform some hack to make everything work… but in the end…
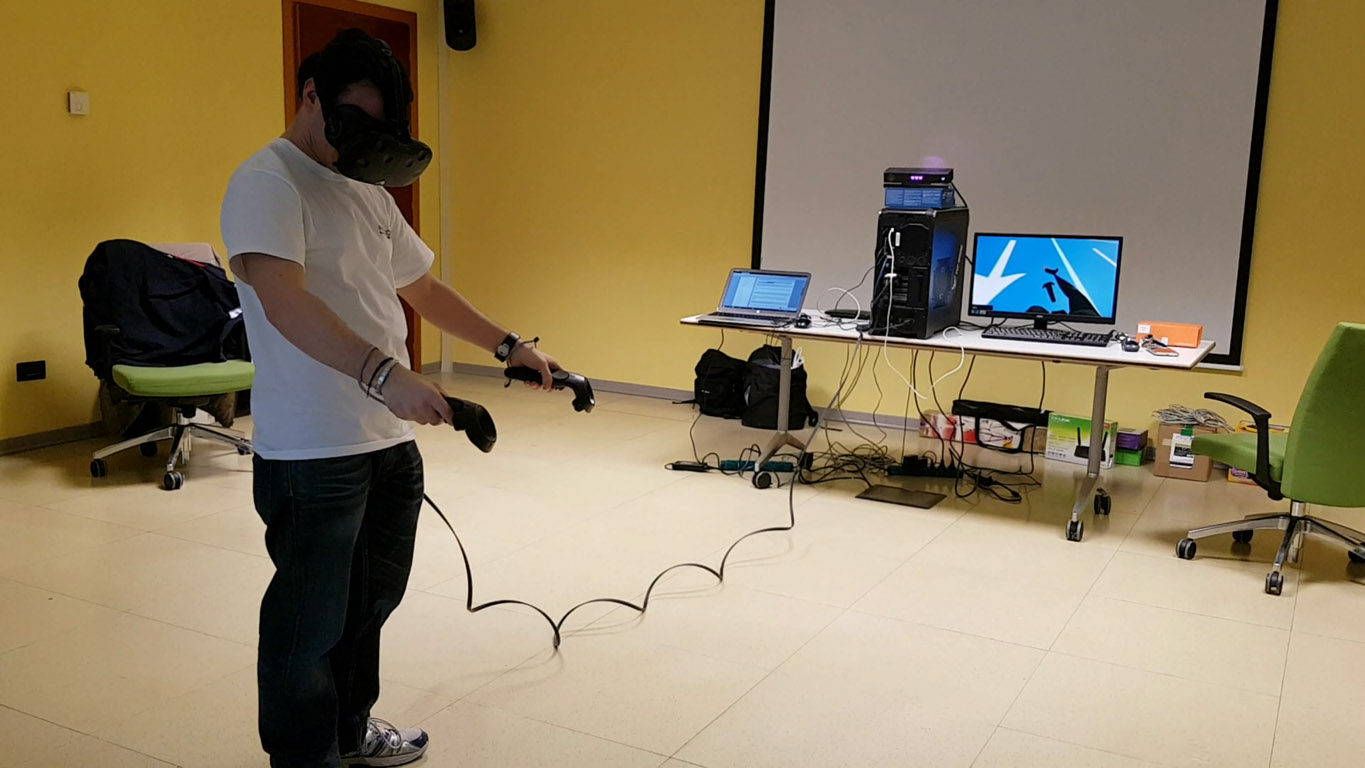
…voilà! Finally we have HTC Vive with full avatar!!! And with controllers completely mapped correctly, and also the ability to not use them, but go with your bare hands! And, most important: you can walk in place to move inside the virtual world, so you don’t need that awful teleportation mechanics!
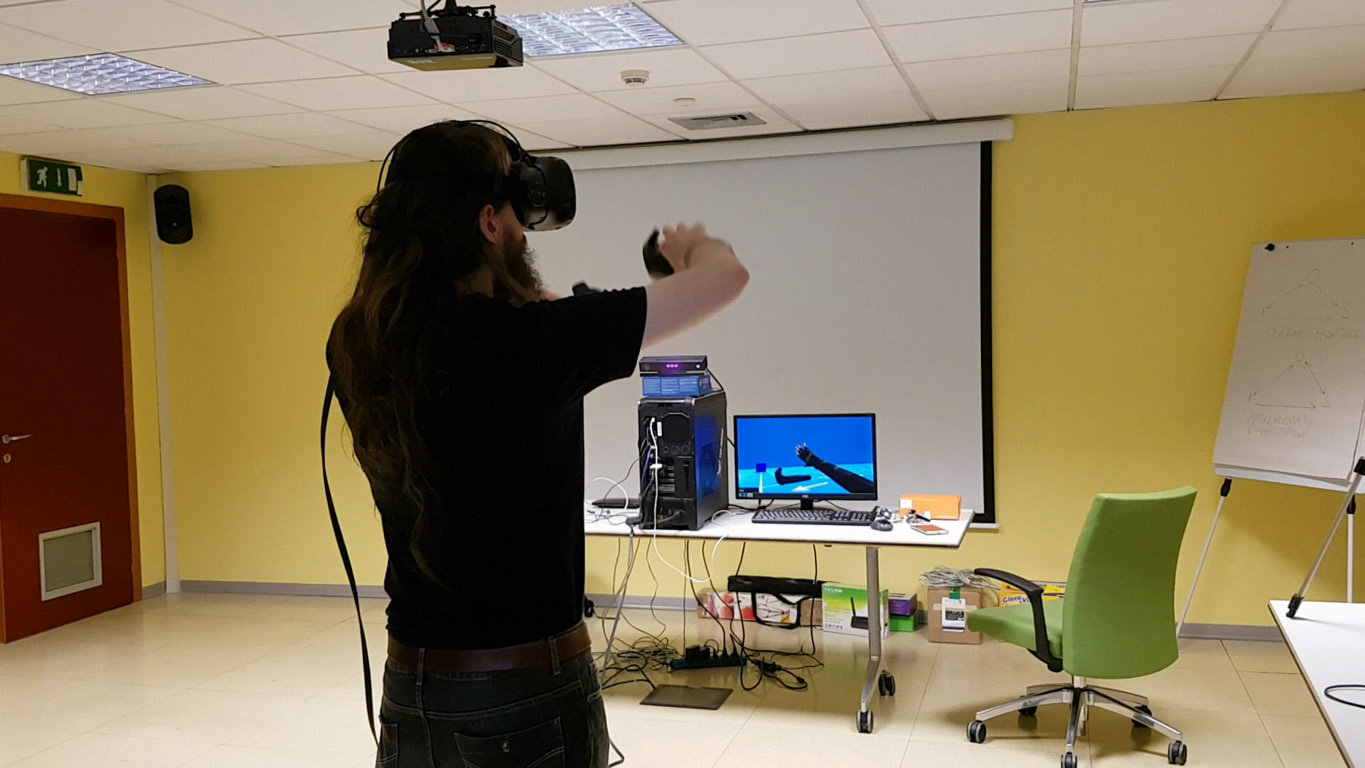
We did the integration as a Proof-of-Concept: keep in mind that it is just an experiment and a lot of work has yet to be made before it can be used in our SDK.
I forgot to mention about their plugin that SteamVR is completely open source and cross-platform, with the community expanding it every day!
One last thing: if you’re interested in HTC Vive specs, compared to Oculus CV1, look at this awesome link.
OK, time for some recap:
Pros:
- Room scale is really awesome: gives you freedom of movement
- Controllers really VR oriented and tracked with great precision, that enhances immersion
- Lots of great demos to try from the first day
- Setup quite simple to do if you are a nerd guy
- A lot of stuff is open-source and the community is implementing a lot of features (like Leap Motion support in SteamVR)
Cons:
- Not consumer-ready: still requires some technical skill for the setup
- Not perfect from an ergonomics and design point of view
- You really miss the avatar
- Teleporting system breaks the immersion a lot
- Unity plugin that has to be studied a bit, before using it
Do you have to buy it?
If you have the money and the space to use room-scale, surely yes. HTC Vive are awesome!
If you don’t have the space for room-scale, go for Oculus CV1 and its marvelous seated/standing experiences.
If you’re a maker with a pure open-source heart, or you want to start experiencing VR spending few bucks, go for OSVR.
Hope you liked this super-long review! Let me know what you think about it in the comments! Cheers!
TL;DR
HTC Vive is the headset produced by HTC in collaboration with Steam. Its cost is high (799$), but it offers a complete and truly innovative system. Vive comes with the so-called room-scale tracking, that is the ability to move freely inside a 4x4m area, with the head and the controllers in the hands tracked with an astonishing precision. It is the first headset with natural interactions. This innovation comes with a price: the system is still not super-easy to setup and so it is still not consumer ready. There is still some work to do on ergonomics, but the device offers features that are so epic, that is surely worth a try!